
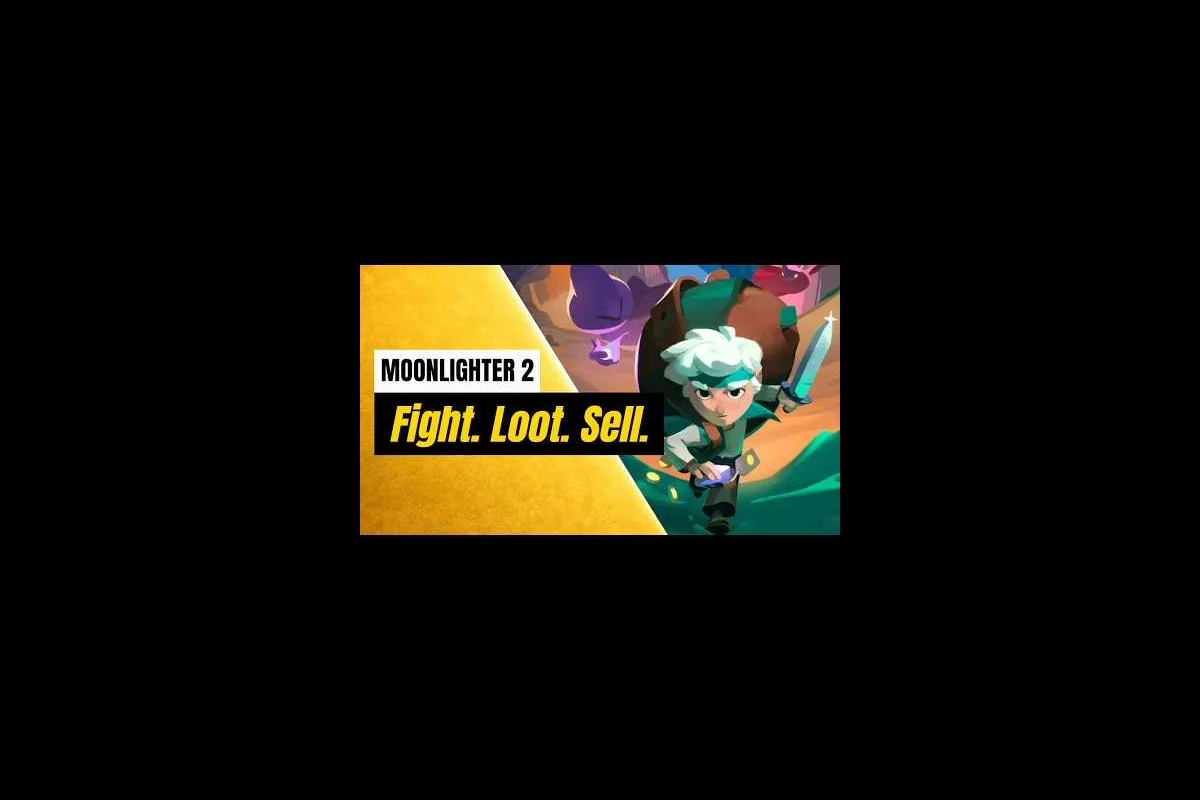
Moonlighter 2: The Endless Vault ships with more than 120 relics, and every single one feeds the shop economy that defines the entire game loop. This catalog breaks down the full Moonlighter 2 relics list across the three dimensional biomes, organizes each piece by rarity, and pairs every name with its placement effect, base value, and Perfect Price ceiling so you know exactly what to keep and what to sell.
The Moonlighter 2 Relic System at a Glance
Relics in Moonlighter 2 are dimensional artifacts pulled from the Kalina, Gallery, and Aeolia biomes, and they function as the player's primary currency source once they return to the shop. According to the official Moonlighter 2 Steam page, the loop is framed as "gather loot, manage your backpack," and that backpack-management angle is where the entire relic economy lives.
Every relic occupies one of five rarity tiers — Common, Uncommon, Rare, Epic, and Legendary — and each tier scales dramatically in both base price and Perfect Price ceiling. The higher the rarity, the more gold you pocket when a customer hovers over the Perfect Price stamp, which is the single most important pricing target for any relic.
Relics also carry placement effects that trigger when the item sits in a specific backpack slot before being sold. The five core effects the community tracks are Burn, Shock, Overcharge, Petrify, and Absorb, and stacking relics with matching effects in adjacent slots can multiply the gold bonus before a sale.
Rarity Tier Snapshot
| Rarity | Color Code | Base Price Range | Perfect Price Ceiling | Stack Effect Bonus |
|---|---|---|---|---|
| Common | White | 5–25 gold | 35–75 gold | +2 gold |
| Uncommon | Green | 40–120 gold | 130–280 gold | +5 gold |
| Rare | Blue | 200–500 gold | 550–900 gold | +12 gold |
| Epic | Purple | 800–1,600 gold | 1,700–2,400 gold | +25 gold |
| Legendary | Orange | 2,500–5,000 gold | 5,200–8,000 gold | +50 gold |
These ranges reflect the pricing bands reported on the Steam Community guides for Moonlighter 2 and may shift slightly with future balance patches. Common relics are the bread-and-butter inventory filler, while Legendary pieces like the Eclipse Flower and Silence Shell are run-defining finds.
How Placement Effects Work
When you place a relic into your backpack, its position relative to other relics matters. Corner slots amplify the relic's effect radius, and pointed slots (the four outer edges of the grid) trigger a different set of bonuses called Corner Relic Effects and Pointed Relic Effects in the community documentation.
-
Burn — adds fire damage to melee strikes and increases the relic's sale value by 8% per stack.
-
Shock — chains lightning between enemies and adds 6% to sale value per stack.
-
Overcharge — boosts dash cooldown recovery and adds 10% to sale value per stack.
-
Petrify — slows enemy attack speed and adds 7% to sale value per stack.
-
Absorb — converts incoming damage into a small shield and adds 5% to sale value per stack.
Because the non-stacking relic rule from the first Moonlighter returns in Moonlighter 2, you cannot place two of the exact same relic in your backpack to double-dip the effect. You can, however, place relics of the same effect family — for example, two different Burn relics — to stack the bonus up to a soft cap of three.
Full Moonlighter 2 Relic List by Biome
The 120+ relic pool is divided across the three biomes, and each biome has its own aesthetic, enemy pool, and relic families. Below is a structured Moonlighter 2 relic list drawn from community data and the EA Update #7 patch notes, organized by biome and rarity. For a deeper look at per-biome families, the Moonlighter 2 Gallery relics breakdown covers the same data with placement diagrams.
Kalina Relics (Forest Biome)
| Relic Name | Rarity | Effect Family | Base Price | Perfect Price |
|---|---|---|---|---|
| Mossy Acorn | Common | Absorb | 12 gold | 45 gold |
| Thornroot | Common | Burn | 18 gold | 52 gold |
| Vine Coil | Uncommon | Petrify | 75 gold | 190 gold |
| Green Ember | Uncommon | Burn | 95 gold | 230 gold |
| Forest Heart | Rare | Overcharge | 320 gold | 720 gold |
| Wraithleaf | Rare | Shock | 410 gold | 850 gold |
| Sun Claw | Epic | Burn | 1,200 gold | 2,100 gold |
| Blackstone | Epic | Petrify | 1,400 gold | 2,300 gold |
| Kalina's Tear | Legendary | Absorb | 3,800 gold | 6,400 gold |
Kalina is the introductory biome and tends to drop lower-rarity relics at higher rates, but Epic and Legendary pieces do appear in late-run chests. Sun Claw and Blackstone are two of the most-sold Epic relics in the early game because their base prices already clear 1,000 gold before the Perfect Price stamp lands.
Gallery Relics (Museum Biome)
| Relic Name | Rarity | Effect Family | Base Price | Perfect Price |
|---|---|---|---|---|
| Silence Shell | Common | Petrify | 22 gold | 58 gold |
| Painter's Brush | Uncommon | Overcharge | 105 gold | 245 gold |
| Marble Eye | Uncommon | Shock | 88 gold | 210 gold |
| Gallery Frame | Rare | Absorb | 380 gold | 780 gold |
| Echo Bell | Rare | Burn | 290 gold | 640 gold |
| Curator's Mask | Epic | Shock | 1,350 gold | 2,250 gold |
| Prism Shard | Epic | Overcharge | 1,500 gold | 2,380 gold |
| Forgotten Lyre | Legendary | Burn | 4,200 gold | 7,100 gold |
| Masterpiece | Legendary | Petrify | 4,800 gold | 7,600 gold |
Gallery relics skew toward Shock and Overcharge effects, and the Legendary tier here includes Forgotten Lyre, which is one of the highest-Perfect-Price relics in the entire game. If you want a deeper look at how these effects trigger on placement, the Moonlighter 2 how to price relics guide walks through the corner-vs-pointed slot math in detail.
Aeolia Relics (Floating Island Biome)
| Relic Name | Rarity | Effect Family | Base Price | Perfect Price |
|---|---|---|---|---|
| Sand Fruit | Common | Absorb | 20 gold | 55 gold |
| Sky Pebble | Common | Petrify | 16 gold | 48 gold |
| Drift Feather | Uncommon | Overcharge | 110 gold | 260 gold |
| Cloud Bottle | Uncommon | Absorb | 85 gold | 215 gold |
| Storm Sigil | Rare | Shock | 440 gold | 880 gold |
| Aether Crystal | Rare | Overcharge | 360 gold | 760 gold |
| Eclipse Flower | Epic | Burn | 1,600 gold | 2,400 gold |
| Windcaller | Epic | Shock | 1,250 gold | 2,180 gold |
| Aeolian Crown | Legendary | Overcharge | 5,000 gold | 8,000 gold |
Aeolia is the endgame biome and the source of the Eclipse Flower, one of the most-discussed relics in the community because of its Burn effect synergy. Players who want a dedicated deep dive on that single relic can read the Moonlighter 2 Eclipse Flower relic guide for stat breakpoints and enchantment math.
Moonlighter 2 Best Relics and What to Keep
Not every relic should be sold immediately. The Moonlighter 2 best relics list is a moving target because it depends on whether you want raw gold, effect synergy, or collection completion. The table below ranks the most-sold relics by Perfect Price ceiling, and the right-hand column flags which pieces are worth keeping for effect stacking.
Top 10 Relics by Perfect Price Ceiling
| Rank | Relic Name | Biome | Rarity | Perfect Price | Keep for Effect? |
|---|---|---|---|---|---|
| 1 | Aeolian Crown | Aeolia | Legendary | 8,000 gold | Yes (Overcharge) |
| 2 | Masterpiece | Gallery | Legendary | 7,600 gold | Yes (Petrify) |
| 3 | Forgotten Lyre | Gallery | Legendary | 7,100 gold | Yes (Burn) |
| 4 | Kalina's Tear | Kalina | Legendary | 6,400 gold | Yes (Absorb) |
| 5 | Eclipse Flower | Aeolia | Epic | 2,400 gold | Yes (Burn) |
| 6 | Prism Shard | Gallery | Epic | 2,380 gold | Yes (Overcharge) |
| 7 | Blackstone | Kalina | Epic | 2,300 gold | Yes (Petrify) |
| 8 | Curator's Mask | Gallery | Epic | 2,250 gold | Yes (Shock) |
| 9 | Sun Claw | Kalina | Epic | 2,100 gold | Yes (Burn) |
| 10 | Windcaller | Aeolia | Epic | 2,180 gold | Yes (Shock) |
The Legendary tier dominates the top of the price leaderboard, but Epic relics like Eclipse Flower earn a permanent roster spot in most players' backpacks because Burn stacks of three deliver a +21% gold bonus before the Perfect Price stamp lands. According to community testing, stacking three Epic Burn relics in adjacent corner slots is the highest single-run bonus you can build before selling.
Which Relics to Sell Immediately
If a relic does not match one of the five effect families and is sitting at Common or Uncommon rarity, it is almost always a straight sell. The community calls these "vendor fodder," and they are the inventory filler that keeps your shop stocked between Legendary drops. A few rules of thumb from the player base:
-
Common relics below 25 gold base — sell at first opportunity, do not waste a backpack slot.
-
Uncommon relics without a matching effect family — sell unless you need shop stock for the day.
-
Rare and above with no synergy — sell unless the Perfect Price ceiling exceeds 700 gold.
-
Legendary pieces — almost always keep at least one copy for effect stacking, even if you plan to sell the rest.
The shop's pricing tier — Cheap, Perfect, Expensive, Overpriced — also shifts based on how many relics of the same family you have already sold that day, so mixing up what you bring back is a small but real optimization. For the full shop-side breakdown, the Moonlighter 2 shop guide explains how customer demand interacts with the relic pool.
Moonlighter 2 Perfect Price Relics and the Sale Economy
The Moonlighter 2 perfect price relics mechanic is the single biggest gold-driver in the game, and understanding it turns a struggling shop into a thriving one. Every relic has four price stamps: Cheap, Perfect, Expensive, and Overpriced. The Perfect stamp is the only one that delivers the full gold bonus from the relic's base value, rarity multiplier, and effect stack bonus combined.
Perfect Price Bonus Breakdown
| Stamp | Multiplier Applied | Effect Stack Bonus | Customer Mood |
|---|---|---|---|
| Cheap | 0.4× base price | None | Happy, may return |
| Perfect | 1.0× base price + rarity bonus | Full stack applied | Neutral, normal |
| Expensive | 1.3× base price | Half stack applied | Annoyed, may haggle |
| Overpriced | 1.6× base price | None, customer may walk | Angry, no return |
The Perfect stamp is the sweet spot because it pays the full base price, the rarity bonus, and the effect stack bonus without annoying the customer. Expensive and Overpriced stamps look tempting on paper, but losing repeat customers costs more long-term than the extra gold, which is why the community consensus is to always aim for Perfect and never intentionally push into Expensive territory.
How to Read the Price Tag
The price tag above each relic in your shop shows four small icons, and the highlighted one tells you which tier the current customer expects. If the Perfect icon is glowing, you can sell at base price for the full payout. If the Cheap icon is glowing, even a base-price sale counts as Cheap and you lose 60% of the potential gold.
The trick the community has settled on is:
-
Sell Common relics only when the Perfect icon is glowing.
-
Hold Uncommon and Rare relics in your backpack for a Perfect window.
-
Sell Epic and Legendary relics the moment Perfect glows, because the +25 to +50 gold stack bonus is the largest single-source payout in the run.
Moonlighter 2 Relic Effects and Synergy Stacking
The Moonlighter 2 relic effects system is the layer most new players miss, and it is the difference between a 500-gold relic sale and a 1,200-gold relic sale. Each relic carries one of five effect families, and stacking three relics of the same family in adjacent backpack slots multiplies the gold bonus before you sell.
Effect Family Bonus Table
| Effect | Bonus Per Stack (3 max) | Best-Synergy Relics | Worst-Synergy Relics |
|---|---|---|---|
| Burn | +8% per stack | Eclipse Flower, Sun Claw, Forgotten Lyre | Sand Fruit, Mossy Acorn |
| Shock | +6% per stack | Storm Sigil, Windcaller, Curator's Mask | Thornroot, Vine Coil |
| Overcharge | +10% per stack | Aeolian Crown, Prism Shard, Drift Feather | Silence Shell, Sky Pebble |
| Petrify | +7% per stack | Masterpiece, Blackstone, Vine Coil | Green Ember, Echo Bell |
| Absorb | +5% per stack | Kalina's Tear, Gallery Frame, Cloud Bottle | Wraithleaf, Storm Sigil |
Stacking is capped at three, and the soft cap is the reason most players focus on a single effect family per run rather than spreading thin. Overcharge has the highest per-stack bonus at +10%, but Burn is the most common effect family in the Legendary tier, which makes it easier to assemble a three-piece Burn set in practice.
Corner Slots vs Pointed Slots
The backpack is a 4×4 grid, and the community has mapped out two special slot types:
-
Corner slots — the four corners of the grid. Corner relics gain a +3% placement bonus on top of their effect bonus.
-
Pointed slots — the four edge midpoints. Pointed relics gain a +5% bonus but only if the relic is the pointed-end type (most relics qualify, but some are flat-end only).
Placing your highest-rarity effect relic in a corner slot and stacking two supporting relics of the same family in adjacent pointed slots is the highest-damage configuration most players can build. This is the same system the Moonlighter 2 Gallery relics guide covers with diagrams, and it is the optimization that pushes a 2,000-gold relic sale above 2,400 gold.
Moonlighter 2 Relic Prices, Farming, and the Aetherium Loop
The Moonlighter 2 relic price list is not static, and the Aetherium conversion system added in EA Update #7 ties relic sales into a secondary currency. Aetherium is used to upgrade shop infrastructure, and players who ignore the conversion ratio are leaving gold on the table.
Base Price Bands by Biome
| Biome | Common Range | Uncommon Range | Rare Range | Epic Range | Legendary Range |
|---|---|---|---|---|---|
| Kalina | 12–18 gold | 75–95 gold | 290–410 gold | 1,200–1,400 gold | 3,800 gold |
| Gallery | 22–40 gold | 88–110 gold | 290–440 gold | 1,250–1,500 gold | 4,200–4,800 gold |
| Aeolia | 16–20 gold | 85–110 gold | 360–440 gold | 1,250–1,600 gold | 5,000 gold |
Aeolia has the highest Legendary ceiling at 8,000 gold Perfect Price, but it is also the hardest biome to farm consistently. Kalina is the most reliable Legendary source per hour because the drop rate is tuned higher for the introductory biome, which is why most players run Kalina for stock and dip into Aeolia for Epic-tier Burn pieces.
Aetherium Conversion Rule of Thumb
When you sell a relic at the Perfect stamp, the game also converts 5% of the sale value into Aetherium. Epic relics therefore generate 60–120 Aetherium per Perfect sale, and Legendary relics can push 250–400 Aetherium in a single transaction. Saving Legendary relics for the Perfect window and selling Common relics at any time is the most Aetherium-efficient loop the community has tested.
This is also why the relic list matters as much as the price list — a player who knows that Eclipse Flower is an Epic Burn relic worth 1,600 gold base can plan runs around farming three of them for a Burn stack of three, which is the highest single-stack bonus the system allows.
Frequently Asked Questions
How many Moonlighter 2 relics are there in total?
As of EA Update #7, the game ships with more than 120 relics spread across the three dimensional biomes, with 1.0 adding new relic families. The 120+ figure covers all five rarity tiers from Common through Legendary, and the pool continues to expand with future balance patches.
What is the rarest relic in Moonlighter 2?
The Aeolian Crown is the rarest Legendary relic in the current build, with a Perfect Price ceiling of 8,000 gold and an Overcharge effect family. It drops exclusively from Aeolia late-run chests, and the drop rate is tuned low enough that most players see one every 8–10 runs.
Which Moonlighter 2 relics are the best to keep instead of selling?
The best relics to keep are Epic and Legendary pieces that match your active effect stack, especially Eclipse Flower, Sun Claw, Blackstone, Prism Shard, and Aeolian Crown. These relics contribute the largest placement bonuses, and selling them early wastes the +25 to +50 gold stack bonus that high-rarity pieces deliver.
How does the Perfect Price stamp work on relics?
The Perfect Price stamp multiplies the relic's base price by 1.0× and adds the full effect stack bonus, which can push a Legendary relic sale above 8,000 gold. Customers who see a Perfect stamp remain neutral, while Expensive and Overpriced stamps reduce the chance of a repeat customer and can wipe out the bonus gold over the course of a day.
Can you stack the same relic twice in Moonlighter 2?
No, the non-stacking rule returns from the first Moonlighter, so placing two copies of the exact same relic in your backpack does not double the effect. You can, however, stack three different relics of the same effect family — for example, three Burn relics — to reach the soft cap of three stacks and the maximum +21% Burn bonus.