
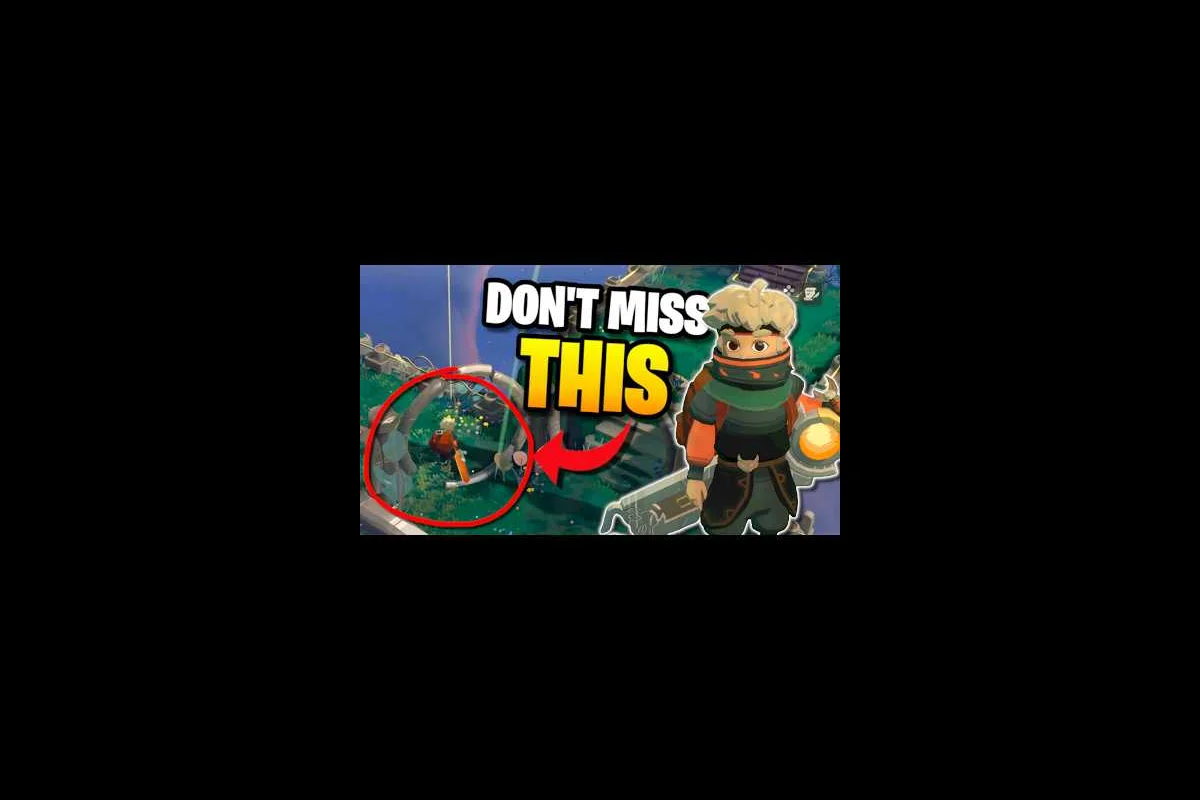
Your first night in Tresna decides whether Moonlighter 2 becomes a steady gold engine or a loop of broke mornings. This Moonlighter 2 first run guide breaks down exactly what to do first, what to sell, and what to keep, so every coin you earn pushes the next run further than the last. Whether you are fresh from the Early Access launch or stepping in after the 1.0 patch, the early economy is the same: cheap loot in, smart prices out, reinvest fast, repeat. The trick is reading your backpack like a shopkeeper instead of a hero.
The dual life of adventurer and merchant is the entire point of the game, and your first run sets the rhythm that carries you through Kalina, the Gallery, Aeolia, and beyond. According to the official Moonlighter 2 Steam page, you dive into interdimensional dungeons at night, sell relics and loot by day, then reinvest every coin into town upgrades. That sentence is the entire economy in one line, and this guide unpacks it run by run.
Setting Up Your First Night in Tresna
Before you touch a portal, take ten minutes to walk the village, talk to every resident, and read the shop board. Tresna is your home base, and the merchants who wander in tomorrow will only buy what they think looks rare, so the way you stock shelves tonight decides tomorrow's profit. The opening shop is small, your backpack is even smaller, and the day-cycle is short, so every action before the first portal jump compounds.
The First Three Conversations That Matter
When you boot the game for the first time, three NPCs will hand you the actual onboarding that the tutorial text skips over. The merchant near the counter explains the four-tier pricing system (cheap, fair, perfect, expensive) and how the Perfect Stamp doubles your sale value. The blacksmith outlines the upgrade cost curve for weapons and armor, and confirms that durability is a real resource, not a cosmetic stat. The town elder mentions the Tresna Reputation Track, which unlocks shop expansion once you hit certain sales milestones.
| NPC | What They Explain | Why It Matters for Run One |
|---|---|---|
| Shop Merchant | Four-tier pricing, Perfect Stamp | Sets your profit floor for every sale |
| Blacksmith | Upgrade cost curve, durability | Tells you what to keep vs. sell |
| Town Elder | Tresna Reputation Track, shop expansion | Unlocks shelf space, multiplies daily gold |
Backpack, Gold, and the Day-Cycle Timer
Your starting backpack holds roughly eight inventory slots, which sounds generous until you remember that one relic plus one weapon plus one armor piece already eats three. Gold starts at a deliberately small number because the loop only works if you are always one good sale away from the next upgrade. The day-cycle runs in real-time minutes: explore at night, sell by day, sleep, repeat. According to the Digital Sun developer page, the loop is intentionally tight so that momentum from a good dungeon carries straight into shop upgrades and the next portal.
Moonlighter 2 Early Game Guide: Your First Dungeon Run
The first dungeon you can access is Kalina, the forest biome, and it is tuned to be completable with the starter sword if you manage your stamina and dodge windows. Resist the urge to clear every room your first night, because the real money in this game is what you carry out, not what you kill. The dungeon order for Moonlighter 2 is the spine of your entire progression, and the Kalina dungeon breakdown covers which floors to clear, which to skip, and where the treasure rooms hide.
What to Pick Up and What to Leave Behind
On run one, you are not strong enough to fight elite spawns consistently, and you do not have the backpack space to carry junk. Follow a strict pick-up rule: take Common relics with sell value above 30 gold, take healing consumables if your HP is below half, and leave everything else. Weapons, armor, and rings found in Kalina early floors are usually under-leveled compared to what the blacksmith can craft for similar gold, so selling them is almost always the right call.
| Loot Type | Run One Decision | Reasoning |
|---|---|---|
| Common Relic (30+ gold) | Keep and sell | Direct profit, no upgrade path needed |
| Common Relic (under 30 gold) | Leave | Slot space worth more than the gold |
| Weapon Drop (starter tier) | Sell | Blacksmith upgrade is cheaper and stronger |
| Healing Consumable | Keep if HP low | Insurance against death penalty |
| Trash Mob Loot | Leave | No buyer, no value |
The Death Penalty and Why It Hurts
If you die inside a portal, you lose everything currently in your backpack, including the relics you were about to sell. Death also resets your run back to the entrance, which means you have to clear floors again to reach the boss. The community calls this the empty-handed walk of shame, and the only way to avoid it is to leave a portal five minutes before you think you should, because the last two floors always have the densest enemy spawns and the worst loot-per-minute ratio.
Moonlighter 2 Money Making Guide: Pricing Your First Sales
Pricing is where most new players bleed gold without realizing it, because the four-tier system punishes both overpricing and underpricing in different ways. A relic tagged cheap sells fast for a small profit, a relic tagged expensive sits on the shelf all day and may not sell before the day-cycle ends, and a relic tagged perfect is the actual sweet spot. The community-reported perfect-stamp window sits between 1.4x and 1.7x of the displayed fair price, depending on relic rarity.
The Four-Tier System in Practice
Every relic has a hidden base value, and your shelf price determines the stamp the customer sees. A cheap stamp makes a customer happy but caps your profit. A fair stamp is a steady baseline sale. A perfect stamp is where the gold multipliers kick in, and an expensive stamp turns customers away entirely. The Moonlighter 2 early game economy only works if you hit perfect on at least half of your daily stock, which is why beginners who price everything at fair often feel broke by day three.
| Price Tier | Customer Reaction | Profit vs. Fair | When to Use |
|---|---|---|---|
| Cheap | Happy, instant sale | 60-70% of fair | Moving stale stock fast |
| Fair | Neutral, normal sale | 100% of fair | Default for low-tier relics |
| Perfect | Excited, leaves bonus tip | 140-170% of fair | Target tier for daily gold |
| Expensive | Walks away, no sale | 0% | Almost never worth it |
Shelf Rotation and the Midday Restock
Your shop does not refresh on its own, so the relics sitting on a shelf at 2 PM are the relics a customer sees at 5 PM. A common beginner mistake is dumping everything onto shelves at 9 AM and then forgetting about it, which means low-value relics clog prime shelf real estate while higher-tier relics sit in the backpack. Rotate your shelves at midday: pull anything tagged cheap, replace with relics you have not yet priced, and re-tag the front-row relics for the afternoon customer wave.
Moonlighter 2 Progression Guide: Where to Spend Your First 500 Gold
Progression in Moonlighter 2 is gated by gold, but the order in which you spend that gold matters more than the amount. The first 500 gold you earn is the most important 500 gold in the entire game, because it decides whether your second run ends with a weapon upgrade or with the same rusty starter. According to community data shared on the Steam guides hub, the optimal first-week spending priority is backpack expansion, then weapon upgrade, then shop shelf expansion.
Priority One: Backpack Expansion
Backpack space is the single biggest bottleneck in the early game, and the first upgrade expands it from eight slots to twelve, which lets you carry a full relic haul plus a healing consumable without scrambling. Skipping this upgrade means every dungeon run forces a choice between profit and survival, and that choice compounds over ten runs. The expansion costs around 200 gold at the first tier, which is roughly two well-priced relic sales.
Priority Two: Weapon Upgrade Path
The starter sword is functional, but it lacks the combo speed and reach you need to clear Kalina's later floors cleanly. The blacksmith offers a tier-one upgrade path that costs around 150 gold and pushes your damage high enough to one-shot common mobs. After the upgrade, your stamina window opens up because fights end faster, which means you can carry more relics per run without overspending on healing consumables. Mid-game players who follow the weapon build overview report that this single upgrade doubles their per-run relic haul.
Priority Three: Shop Shelf Expansion
The third priority is shelf space, because the shop only earns gold when relics are on display, not sitting in your backpack. The first shelf expansion unlocks two additional display slots and a small reputation bonus that nudges customer patience higher. Higher patience means customers tolerate perfect-stamp prices more often, which means more gold per sale without raising prices.
| Spend Priority | Cost (approx.) | Unlock | Run Impact |
|---|---|---|---|
| Backpack Expansion | 200 gold | +4 slots | Carry full hauls, no scrambling |
| Weapon Upgrade Tier 1 | 150 gold | Damage +25% | Clear floors faster, fewer consumables |
| Shop Shelf Expansion | 150 gold | +2 shelves, patience boost | More sales per day, higher daily gold |
Moonlighter 2 What to Do First: A Sample Three-Run Plan
The first three runs are where most players either build momentum or fall into a broke loop. A clean three-run plan turns the opening into a self-funding engine: run one stocks the shop, run two funds the backpack, run three funds the weapon. By the fourth run, you are earning more per dungeon than you spend per day, and the loop starts paying for itself. The full early game progression guide covers portal exit timing and death-penalty avoidance in more detail.
Run One: The Calibration Run
Go into Kalina, clear the first three floors, grab two Common relics, leave everything else, and exit through the portal before the boss. Back in Tresna, price both relics in the perfect window, sell them for around 90 gold combined, and sleep. The goal of run one is not profit, it is calibration: you learn enemy patterns, you learn the stamina window, and you learn which relics the shop actually wants.
Run Two: The Profit Run
With the calibration data from run one, run two is where you push deeper. Clear the first five floors, target the relic spawns you missed last time, and exit at floor six with a full backpack. Sell everything in the perfect window, hit the Daily Profit Bonus for selling five or more relics in one day, and bank around 180 gold. This is the run that funds the backpack expansion.
Run Three: The Upgrade Run
With backpack expanded, run three is the first run where you can carry a serious haul. Push to the boss, take the boss relic, exit cleanly, and price the entire stock in the perfect window. With the Boss Relic Bonus stacking on top of the daily bonus, this single run can clear 300+ gold, which funds the weapon upgrade and the first shelf expansion. By the end of run three, your daily income should comfortably exceed your daily costs, and the early game is officially behind you.
| Run | Goal | Expected Gold | What It Unlocks |
|---|---|---|---|
| Run 1 | Calibration, learn patterns | ~90 gold | Shop data, no upgrades yet |
| Run 2 | Profit push, full relic haul | ~180 gold | Backpack expansion |
| Run 3 | Boss clear, upgrade fund | ~300+ gold | Weapon + shelf expansion |
Common First-Run Mistakes and How to Dodge Them
Even experienced roguelike players stumble on Moonlighter 2 because the dual-life loop is unusual, and the economy punishes habits that work in other games. The most common first-week mistakes are over-greeding on relics, under-pricing out of caution, and forgetting to rotate shelves. Each one bleeds gold slowly enough that you do not notice until day five, when you are still running the rusty starter sword and wondering where the money went.
Over-Greeding and the Full-Backpack Trap
The single biggest first-run mistake is filling every backpack slot with relics, because once your inventory is full, you have to choose between picking up a healing consumable and picking up a relic. Players who fill their packs end up dying more often, which means more death-penalty runs, which means less total gold. The community rule of thumb is to leave at least two backpack slots open at all times: one for a consumable, one for an emergency weapon swap.
Under-Pricing Out of Caution
New players often price relics at cheap or fair because they are afraid the customer will walk away, but the perfect tier exists specifically to reward risk. According to community testing, perfect-stamped relics sell 80% of the time when priced in the 1.4x to 1.7x window, which means your expected value per relic is actually higher at perfect than at fair, even accounting for the occasional walkaway. Train yourself to price in the perfect window from day one, because unlearning the cheap habit later is harder than learning the perfect habit now.
Ignoring the Tresna Reputation Track
The Tresna Reputation Track is the silent progression system that most beginners miss, because there is no popup reminding you that it exists. Every relic sold contributes a small amount of reputation, and milestone reputation levels unlock shop expansion, new NPC dialogue, and late-game quest triggers. Players who sell consistently but ignore the track often hit a wall around mid-game where the shop feels stagnant, when in reality they just need a few more sales to hit the next reputation milestone. For players curious about how the late-game story connects to the Tresna economy, the villain and homeland storyline guide covers the narrative triggers tied to reputation milestones.
Frequently Asked Questions
What is the very first thing I should do in Moonlighter 2?
Talk to the shop merchant, the blacksmith, and the town elder in Tresna before touching a portal, because they each explain one of the three systems (pricing, upgrades, reputation) that gate your early progression. After that, enter Kalina, clear the first three floors, grab two relics, and exit before the boss to learn enemy patterns without risking a death penalty.
How do I make money fast in Moonlighter 2 without dying?
Price relics in the Perfect Stamp window (1.4x to 1.7x of fair value), rotate shelves at midday, and avoid elite spawns until your weapon is upgraded. The fastest safe gold comes from consistent perfect-stamp sales on Common relics, not from chasing Rare drops, which are riskier and slower per run.
What should I spend my first gold on in Moonlighter 2?
Backpack expansion first, then the tier-one weapon upgrade, then shop shelf expansion. This order maximizes your per-run relic haul, then your clear speed, then your daily sell capacity, which is the same order reported by experienced players on the Steam community guides hub.
When should I fight the first Kalina boss?
Fight the boss on run three or later, after you have the backpack expansion and the tier-one weapon upgrade. Going in earlier usually ends in a death penalty, which sets your gold back by two full runs and breaks the early-game momentum that the rest of the progression assumes.
Can I reset my run if I make a mistake in Moonlighter 2?
There is no in-game reset, so if you die inside a portal, you lose your current backpack and respawn at the entrance. The community-recommended safety habit is to bank at least one relic haul in the shop before pushing into a new floor, because once relics are on shelves and sold, they are safe from the death penalty.